
Why Solana Fits Autonomous Agents
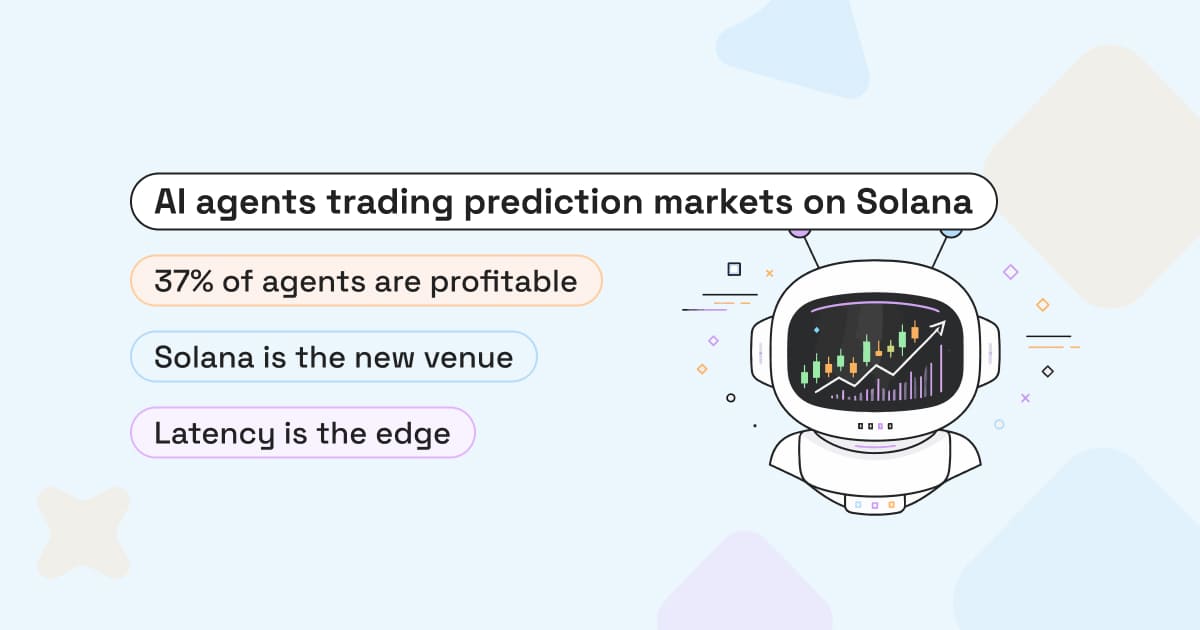
Solana’s architecture solves the two biggest friction points for autonomous AI agents: latency and cost. Most other layer-1 blockchains charge fees that make micro-transactions economically unviable. An AI agent performing routine tasks—such as checking prices, verifying data, or executing small payments—would burn its entire budget on gas alone. Solana’s sub-cent transaction fees allow agents to operate at scale without requiring human intervention for every single step.
Throughput is equally critical. Autonomous agents often need to execute bursty sequences of actions in rapid succession. Solana’s high throughput ensures these sequences settle quickly, preventing the bottlenecks that plague slower networks. This speed allows agents to react to real-time market conditions or external data feeds with minimal delay.
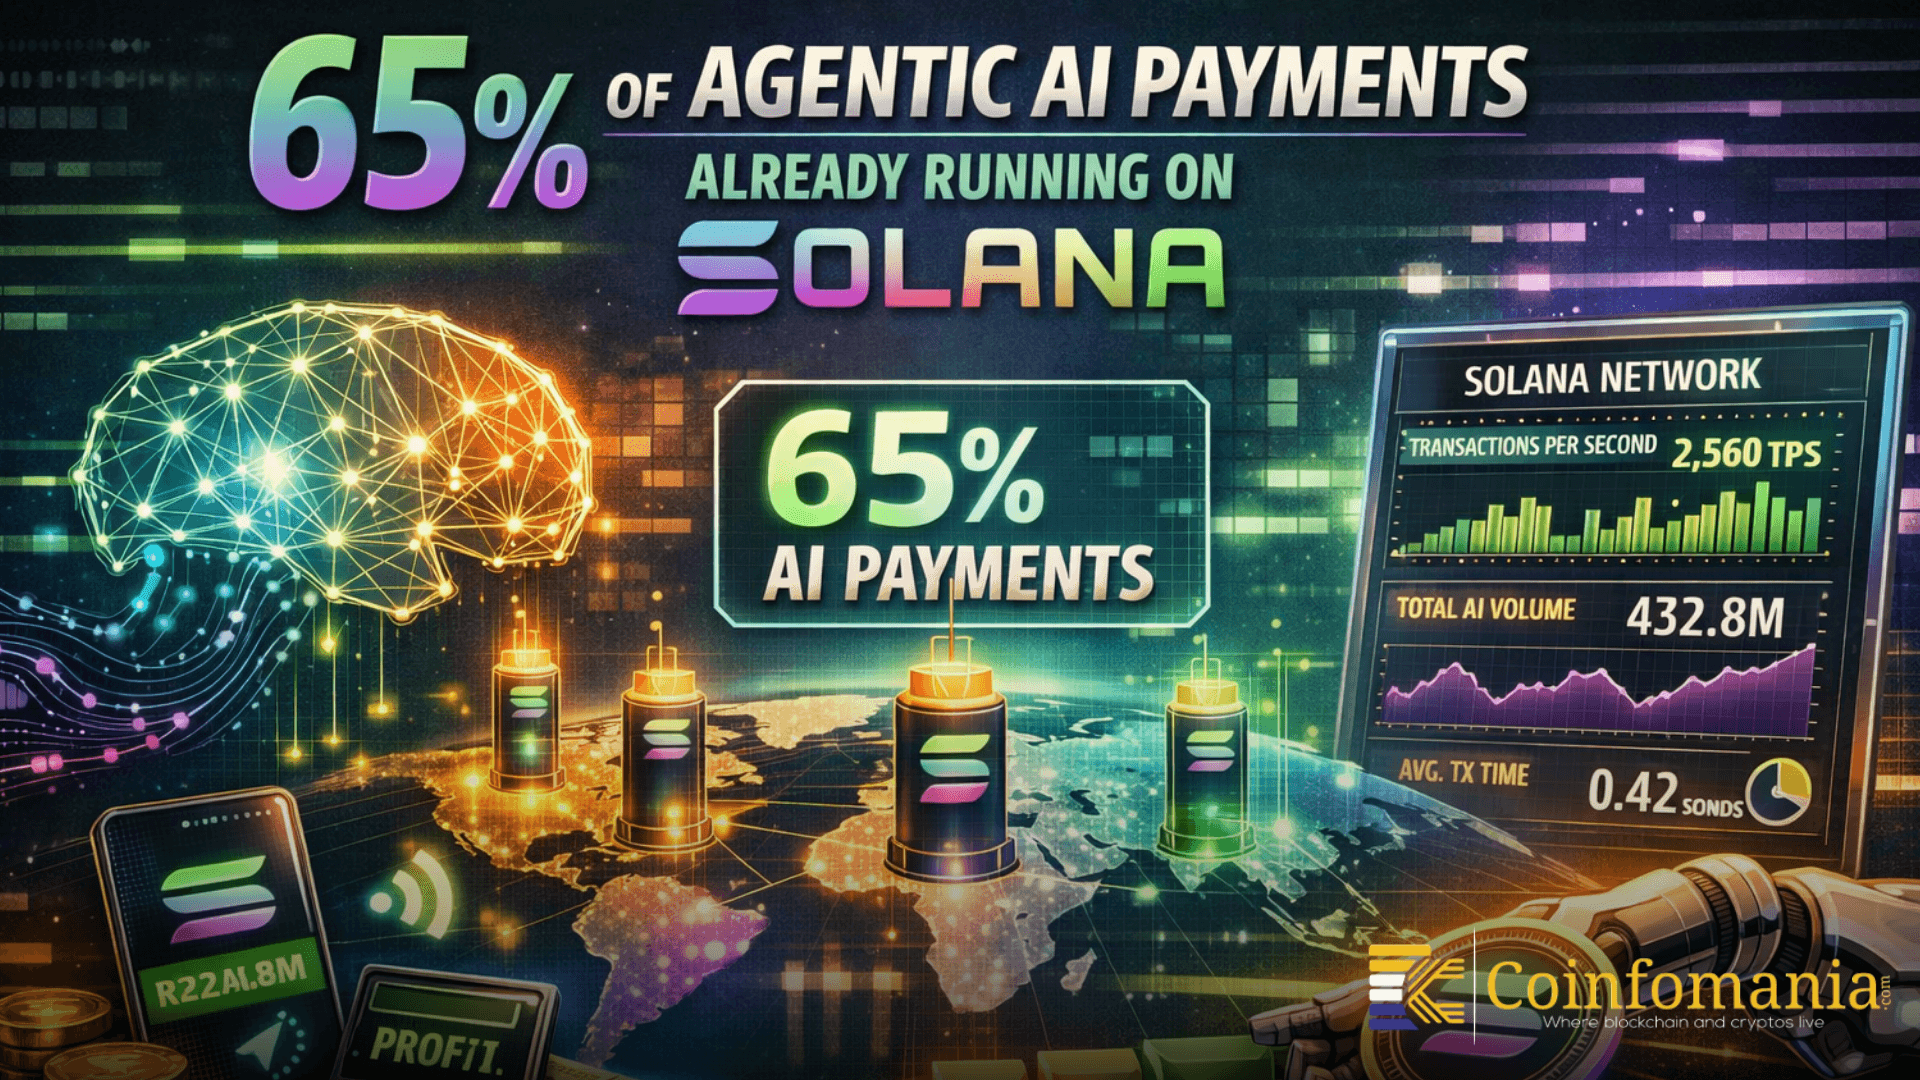
The network has already demonstrated this capacity at scale. According to recent reports, Solana has processed over 15 million agent-initiated transactions. This volume signals a shift from experimental projects to a measurable, operational economy where AI agents function as independent economic actors.
This infrastructure creates a distinct advantage. While other chains remain optimized for human-led trading, Solana is becoming the preferred layer for machine-led activity. The combination of speed and low cost enables the "agentic internet" where AI agents can interact with dApps, wallets, and other agents seamlessly.
Set up the development environment
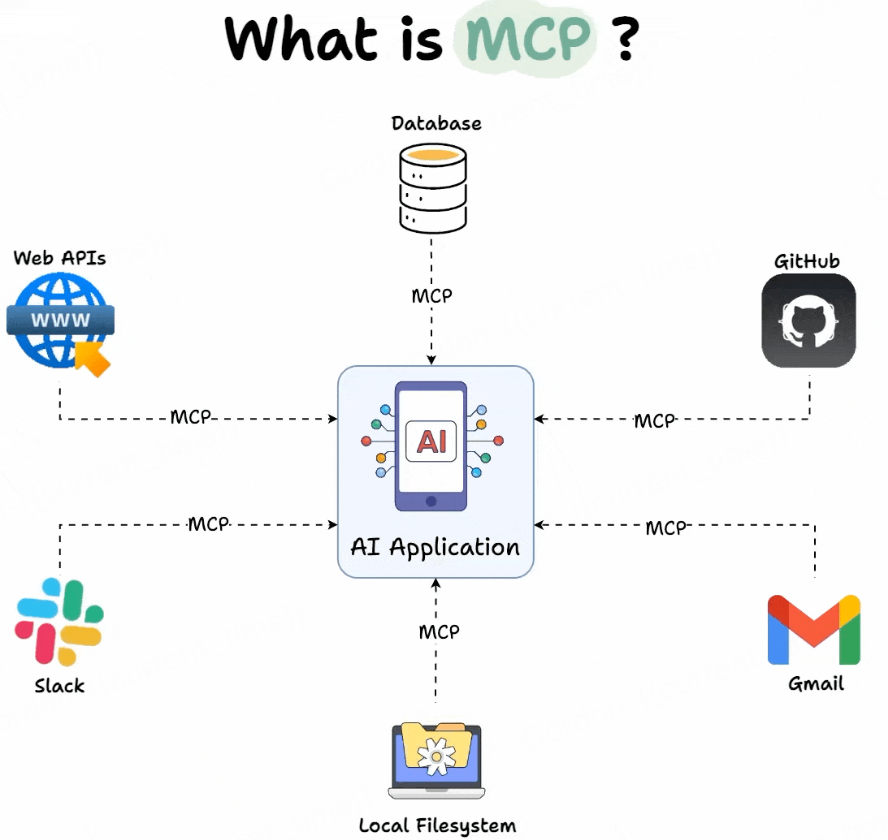
Building an autonomous agent on Solana requires a specific toolchain to handle blockchain interactions, natural language processing, and secure execution. This guide walks you through configuring the core components: Node.js, the Solana CLI, and the Model Context Protocol (MCP) server.
Most Solana AI agents run on JavaScript or TypeScript. Install the latest Long Term Support (LTS) version of Node.js to ensure compatibility with modern frameworks. Use a version manager like nvm to switch between versions easily as project requirements evolve. Verify the installation by running node -v and npm -v in your terminal.
The Solana Command Line Interface (CLI) is essential for managing keys, interacting with the blockchain, and deploying programs. Install it using the official installer script. After installation, initialize your local configuration with solana config set --url https://api.devnet.solana.com to point your CLI to the devnet cluster. This allows your agent to simulate transactions without risking mainnet funds during development.
The Model Context Protocol (MCP) acts as the bridge between your AI model and the Solana blockchain. It standardizes how agents access tools and data. Clone a reference implementation, such as the Breeze Agent Kit from the Solana Foundation, to get a working MCP server. This kit provides integration paths for yield farming and other on-chain actions, giving you a secure foundation to build upon.
Security is the most critical part of agent development. Never hardcode private keys in your source code. Use environment variables or a dedicated key management system to store your wallet secrets. When testing, fund your devnet wallet using the Solana Faucet. For mainnet deployment, consider using a multi-sig wallet or a hardware security module to limit the agent's spending authority.
Connect the agent to a Solana wallet
Linking an AI agent to a Solana wallet requires a shift in security architecture. Unlike human operators who manually sign transactions, agents operate autonomously. This autonomy introduces a critical risk: if the agent’s private key is compromised or the logic contains a bug, funds can be drained instantly with no manual override.
To mitigate this, you must decouple the agent’s execution environment from the wallet’s signing authority. The industry standard for 2026 is using policy-controlled key management systems like Turnkey or Fireblocks. These tools allow you to define strict transaction policies—such as maximum transfer limits, allowed recipient addresses, and gas price caps—before a transaction is ever signed.
The agent generates the transaction data, but the policy engine validates it. If the transaction violates a rule (e.g., sending more than $100 to an unknown address), the signature is rejected. This creates a "trust but verify" layer where the AI suggests actions, but the policy controls the execution.
Step 1: Initialize the policy-controlled wallet
Begin by creating a wallet instance within your key management provider. Instead of storing a private key locally, you will receive a wallet ID and a set of API credentials. These credentials allow your agent to request signatures without ever seeing the private key itself.
import { Turnkey } from '@turnkey/http';

// Initialize the Turnkey client with your API credentials
const turnkeyClient = new Turnkey({
  baseUrl: 'https://api.turnkey.com',
  apiPublicKey: process.env.TURNKEY_PUBLIC_KEY,
  apiPrivateKey: process.env.TURNKEY_PRIVATE_KEY,
  apiOrganizationId: process.env.TURNKEY_ORG_ID,
});

// Create a new wallet with a specific policy
const wallet = await turnkeyClient.createWallet({
  organizationId: process.env.TURNKEY_ORG_ID,
  name: 'AI-Agent-Wallet-01',
  policyId: 'ai-agent-policy-01', // Referenced in Step 2
});

console.log('Wallet ID:', wallet.walletId);
Step 2: Define transaction policies
With the wallet created, the next step is to define the rules that govern its use. Policies are JSON objects that specify what transactions are allowed. For an AI agent, you should start with restrictive policies and expand them only as needed.
Common policy constraints include:
- Max Amount: Limit the maximum SOL or token amount per transaction.
- Allowed Recipients: Whitelist specific contract addresses (e.g., Raydium, Jupiter) to prevent phishing.
- Gas Limits: Cap the maximum priority fee to prevent accidental overpayment.
// Define a restrictive policy for the AI agent
const policy = {
  name: 'ai-agent-policy-01',
  type: 'transaction_policy',
  rules: [
    {
      type: 'max_amount',
      value: '100000000', // 0.1 SOL (in lamports)
      token: 'So11111111111111111111111111111111111111112',
    },
    {
      type: 'allowed_recipients',
      value: [
        'JUP4jY14w97cP6j43t43RjH9x9u562t87s3q4z5x', // Example: Jupiter Exchange
        '675kPX9MHTjS2zt1qfr1NYHuzeLXfQM9H24wFSUt1Mp8', // Example: Raydium
      ],
    },
  ],
};

await turnkeyClient.createPolicy(policy);
Step 3: Request and sign transactions
When your AI agent decides to execute a trade, it constructs the transaction using the Solana Web3.js library. Instead of signing it locally, the agent sends the transaction payload to the policy engine. The engine checks the transaction against the defined rules. If it passes, the engine signs the transaction and returns the signed payload, which the agent then broadcasts to the Solana network.
import { Connection, Transaction, SystemProgram, PublicKey } from '@solana/web3.js';

const connection = new Connection('https://api.mainnet-beta.solana.com');

// 1. Agent constructs the transaction
const transaction = new Transaction();
transaction.add(
  SystemProgram.transfer({
    fromPubkey: new PublicKey(wallet.walletId),
    toPubkey: new PublicKey('recipient-address'),
    lamports: 1000000, // 0.001 SOL
  })
);

// 2. Send to policy engine for validation and signing
const signedTransaction = await turnkeyClient.signTransaction({
  walletId: wallet.walletId,
  policyId: 'ai-agent-policy-01',
  transaction: transaction.serialize(),
});

// 3. Broadcast the signed transaction
const signature = await connection.sendRawTransaction(signedTransaction.transaction);
console.log('Transaction signature:', signature);
Security checklist for wallet integration
-
Never store private keys in environment variables or code. Use a dedicated key management service.
-
Enforce least privilege. Start with the most restrictive policies possible.
-
Monitor transaction logs. Set up alerts for any transaction that triggers a policy warning or rejection.
-
Test on devnet first. Verify that your policy rules work as expected before deploying to mainnet.
By following these steps, you ensure that your AI agent can interact with the Solana network securely, minimizing the risk of unauthorized transactions while maintaining the autonomy required for automated trading and execution.
Implement autonomous transaction logic
Autonomous transaction logic bridges the gap between an AI agent’s reasoning and on-chain execution. Instead of manually approving every interaction, your agent parses natural language inputs into structured commands and executes them via Solana programs. This capability enables automated trading, yield farming, and data retrieval without constant human oversight.
To build this layer, you must define a strict mapping between intent and transaction signature. The agent should not guess parameters; it should retrieve real-time data, validate constraints, and construct the transaction payload using established Solana libraries.
Start by creating a schema that translates natural language into specific Solana program instructions. For example, if the user says "stake 10 SOL on Jito," the parser must identify the action (stake), the asset (SOL), the amount (10), and the target program (Jito Staking). Use a structured format like JSON to represent this intent, ensuring all required fields are present before proceeding.
Before constructing a transaction, the agent must validate current market conditions. Query on-chain data or reliable oracles to check the current price of the asset, available liquidity, or current yield rates. This step prevents the agent from executing trades at unfavorable prices or interacting with illiquid pools. Integrate this data directly into the intent schema to inform the transaction parameters.
Use the Solana web3.js library to build the transaction object. Map the parsed intent to specific instruction objects from the target program’s IDL (Interface Definition Language). For example, for a swap, construct the swap instruction with the correct input and output token accounts. Ensure you include the necessary payer signature and recent blockhash to make the transaction valid for the Solana network.
Send the signed transaction to the Solana cluster. Implement a monitoring loop to track the transaction’s status (pending, confirmed, or failed). If the transaction fails, log the error details for debugging and notify the user. For yield farming or complex multi-step operations, chain these transactions together using a transaction builder to ensure atomicity where possible.
Security is paramount in autonomous execution. Never hardcode private keys in your agent’s codebase. Instead, use secure key management solutions like Solana’s keypair storage or hardware security modules. Implement a "kill switch" or manual approval step for high-value transactions to prevent catastrophic losses from AI hallucinations or unexpected market events.
Test the agent in a simulated environment
Before deploying your Solana AI agent to mainnet, you must validate its behavior in a controlled environment. Devnet and testnet provide the necessary infrastructure to simulate transactions and interactions without risking real capital. This phase is not optional; it is the primary defense against logic errors, unexpected token burns, or infinite loops that could compromise user funds or your own wallet.
The testing process involves three distinct stages: local simulation, network validation, and security auditing. Each stage requires specific tools and protocols to ensure the agent handles edge cases correctly. Treat this phase as a rigorous rehearsal rather than a final check.
Start by spinning up a local validator using solana-test-validator. This creates a private, single-node blockchain on your machine. It allows you to test smart contract interactions and agent logic with near-instant finality and zero cost. Use this environment to debug basic syntax errors and verify that your agent’s core functions execute as expected before touching any external network.
Once local tests pass, deploy your program and agent scripts to devnet. This network shares the same consensus mechanism as mainnet but uses fake SOL. Here, you test how your agent interacts with real-world Solana programs like Raydium or Orca. Verify that the agent correctly signs transactions, handles RPC rate limits, and responds to on-chain events. This is where you identify integration failures that local simulation cannot catch.
Security is paramount. Manually review every transaction your agent constructs. Ensure it only has the permissions it strictly needs. Use tools like solana-program-test to simulate complex attack vectors, such as front-running or reentrancy. If your agent interacts with user wallets, verify that it never requests excessive approval limits. A single misconfigured permission can lead to total fund loss.
Solana charges fees based on compute unit (CU) consumption. AI agents can be computationally expensive due to large input data or complex logic. Monitor CU usage during your devnet tests to ensure your agent does not exceed block limits. If your agent consistently fails due to out-of-compute errors, refactor your logic or batch operations to stay within the 1,400,000 CU limit per transaction.

No comments yet. Be the first to share your thoughts!